5 steps of Glotio to start your shop internationalization
Despite being very fast in translating the entire e-commerce store in a few minutes, Glotio requires a multi-step process. In this article, we explain its 5-step process.
ATTENTION, Glotio downloads and uploads texts to your website during the translation process. While you’re translating, we recommend you not edit your store texts or languages so that the translation is done the right way.
The steps to translate:
1. First of all, if you have PrestaShop as your CMS, you need to create a user account for any eCommerce on Glotio. Here’s how to create it: How to create your Glotio account. This process is not necessary if you have a Shopify account.
2. Once the account is completed, our virtual assistant will guide you in a few steps through the process necessary for Glotio to track your shop looking for translatable elements.
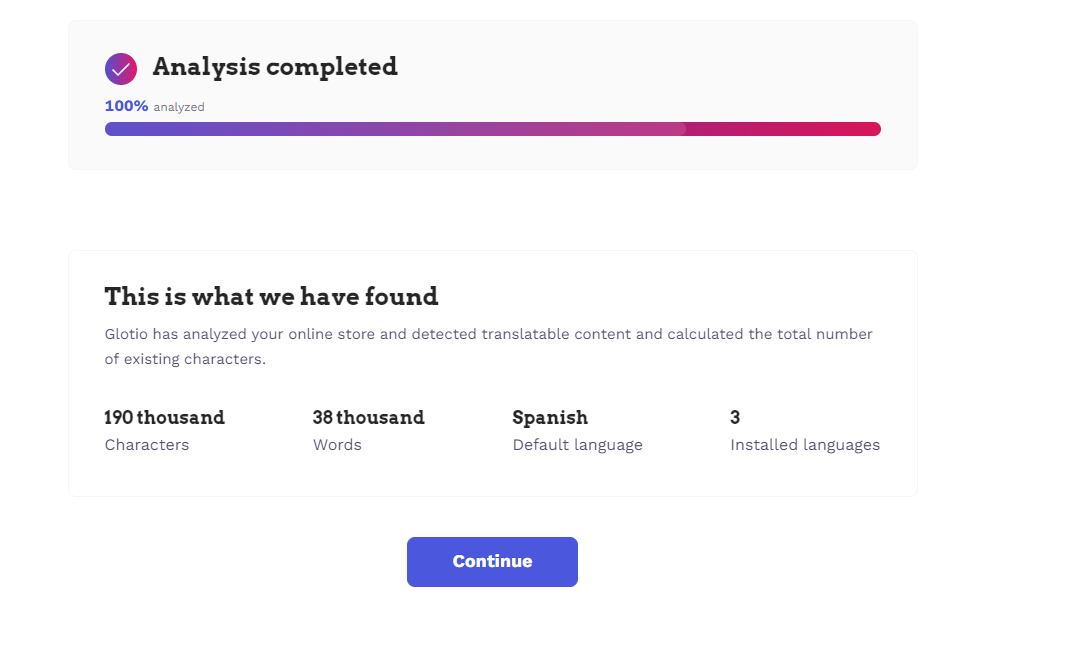
3. Glotio downloads all texts and calculates all translatable content in each language. Before translating, you can decide on the fields in Advanced Setting, you can define the words in your dictionary, and add words or phrases to your exclusion list.
4. Once you have done the analysis you will be able to see the languages you can translate, select them and see the final price of the translation before continuing.

You can choose languages and accept them or discard those you don’t want. If you want a language that is not included in your list, you can add it as we explain here.
The source language of the translation will ALWAYS be the default language in your shop. Check well what language you have set, because later it will not be possible to change it. If you have done it by mistake, please contact us so we can solve the problem.
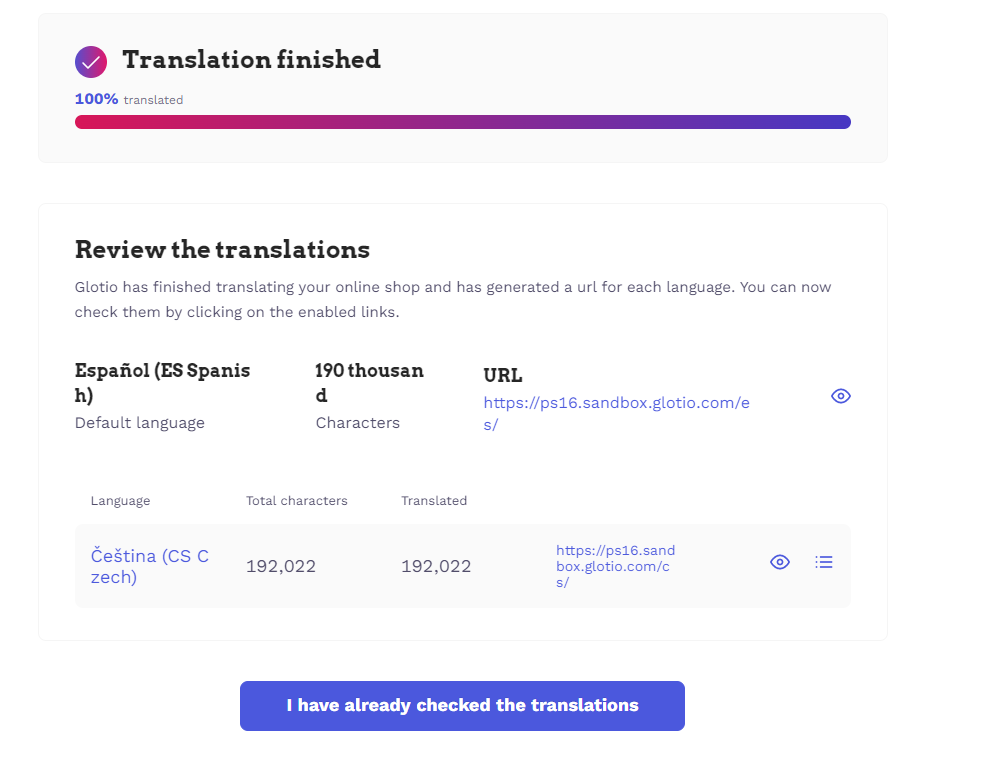
5. Once you have chosen the languages Glotio starts translating and uploads the translations to your website.

6. You can check the translation: remind to activate the language selector module. Glotio does not take care of any language configuration.
